
Hmac Based Authentication
Available starting Taurus-PROTECT 3.20
This method provides integrity in addition to authenticity checks, as each request is signed with a secret key. The key does not expire and is valid until revoked.
As the secret key is exclusively used for API authentication it is calledApiKey.
An ApiKey can be generated for any Taurus-PROTECT or Taurus-CAPITAL user, and can be obtained via the Graphical User Interface as described below.
This shared secret is then used to sign every API request.
Obtaining an ApiKey via the UI
- Log in as a user with user manager role privileges.
- Navigate to the
Usersmenu on the left navigation bar. - Open the details of the
Useryou wish to generate anApiKeyfor, and expand the > API keys section.
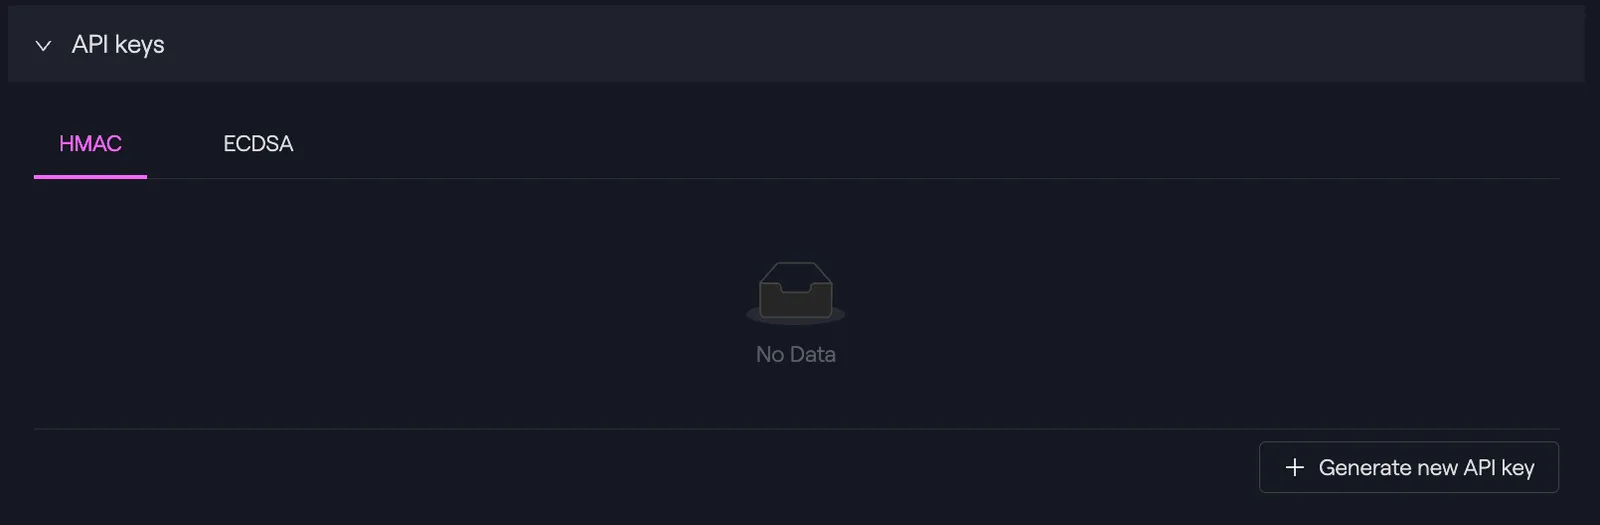
- Click on Generate new API key, which triggers a change request to create an
ApiKeyfor thisUser, which needs approval by an additional user with user manager role privileges. - Log in with a different user manager
- Navigate to the
Changes -> To Validatemenu and tab - Approve the change request

- You can now go back to the
Userdetails page where it will display anApiKey
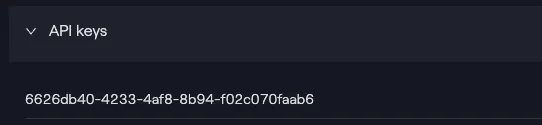
- Click on the eye icon next to the API key to reveal the secret
Careful
Revealing a secret can be done only once. If the secret is lost, a new ApiKey needs to be created and the ApiKey corresponding to the lost secret should be revoked.
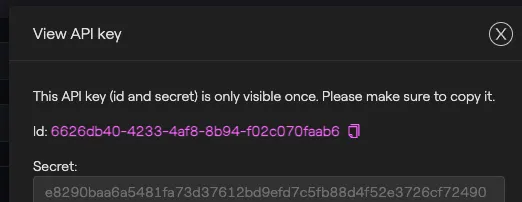
- Both strings, the Id and the Secret, are required for successful HMAC authentication. Make sure you store these in a safe place.
Using the HMAC-authentication method
The HMAC-authentication is based on cryptographic signatures. Instead of providing a JWT that represents a “session” when doing a request, the User signs every API request.
- To generate the signature of a request the following information is required for the authentication header:
- a prefix, identifying the protocol version. Currently only
TPV1is supported. - the
User’s ApiKey identifier (The unique Id - see section above) - a nonce, a string that needs to be different with every request (usually a UUID)
- a timestamp, as a unix epoch timestamp in milliseconds
- the HTTP method of the request (e.g.
POST) - the HTTP host - the fully qualified host name the request is being sent to (e.g.
tg-validatord-instance.t-dx.com) - the path of the request (e.g.
/api/rest/v1/blockchains) - the query string of the request (e.g.
?query=BTC) - the content type of the request (usually
application/json) - the body of the request as a string (empty for
GETrequests, usually JSON for aPOSTorPUTrequest e.g.{"query":"BTC"})
The strings above are concatenated into a single string, in the order listed. The individual string components are separated by spaces. Empty elements are not included.
- This is then signed with Hash-based message authentication code (HMAC), using the
ApiKeysecret for encryption.
- The signature is then encoded in base64
- The Authorization header has the following form:
TPV1-HMAC-SHA256 ApiKey={} Nonce={} Timestamp={} Signature={}
Where TPV1-HMAC-SHA256 is a fixed string identifying the protocol. ApiKey, Nonce and Timestamp have to match the values that were signed in 1. - 3. above.
- The request can now be sent together with the Authorization header above.
Examples
Here we provide 2 examples of this method.
The first example is a python script. This script can be started to launch a small proxy server that can receive a request, sign it on the fly, and forward it to the intended server. It demonstrates the signature mechanism based on the request’s content and the User’s ApiKey details
The second example is a Pre-request Script that can be used in the Postman tool (Graphical UI tool to call APIs). Place the following script in the Pre-request Script section of your Postman Taurus-PROTECT setup, and make sure to store a valid apiKey and apiSecret in the Postman Vault (requires a recent version of Postman).